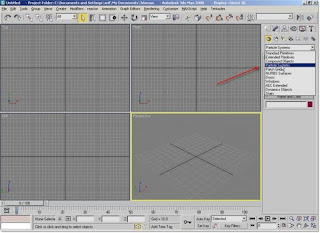
Have a look at what we will use for the rain. We will use “Spray” particle system to simulate such raining system which is located under Create > Geometry > Particle Systems.
Step 2
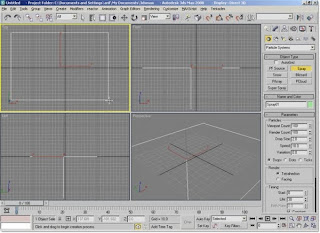
For now, just to have an idea click on Spray button and, in the Top viewport, drag to draw a rectangular spray icon.
Step 3
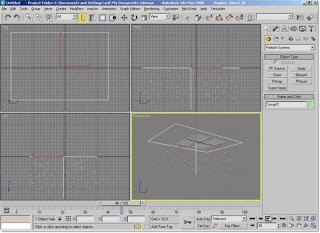
If you click the Play button, you will see how particles are emitting from the Spray source
Step 4
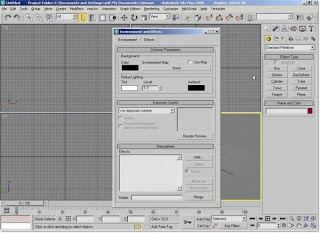
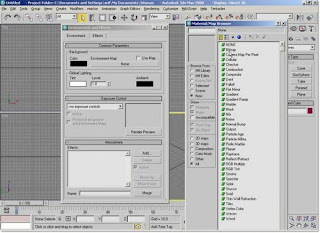
OK, let’s delete it for now and then choose an environment image with which we will match the rain-fall. We could model an actual environment for this purpose, but since our main focus will be the rain itself we will use just an environment picture that shipped with 3dsmax (thanks to autodesk). Press ‘8’ in your keyboard to open the Environment dialogue box.
Step 5
Click on the button labeled “None”, then choose “Bitmap” in the Material/Map Browser window.
Step 6
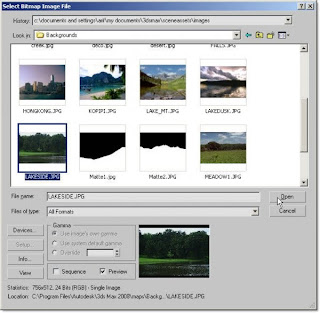
Navigate to the “Backgrounds” folder under your 3dsmax’s root directory > Maps which is the default maps installation folder of your 3dsmax program.

Step 7
Now, highlight “LAKESIDE.JPG” and click Open button
Step 8
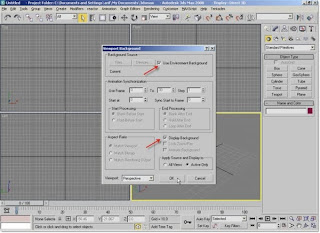
Although the image has been set to be rendered as the background we will need to set it up as the Viewport Background as well to aid our scene arranging process. For that, activate the perspective viewport and press ‘ALT+B’ in the keyboard. Then check both “Use Environment Background” and “Display Backgrund”. Click OK.
Step 9
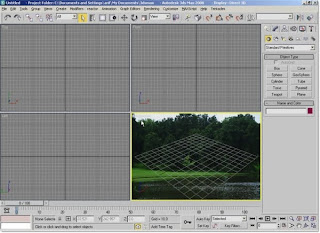
Now, you should see the Image in the Perspective view.
Step 10
At this stage, we should set up a camera to assign it to the Perspective viewpot. Choose Create > Cameras (Standard) > Target and then drag in the Top viewport to place a camera. Go to Perspective viewport and press ‘C’ in the keyboard to assign the camera to the view.
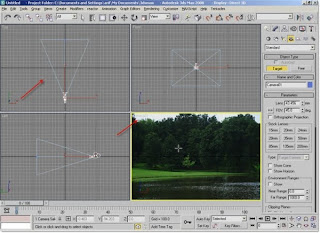
Step 11
While the Camera01 is still selected go to the Modify panel and check “Show Horizon”.
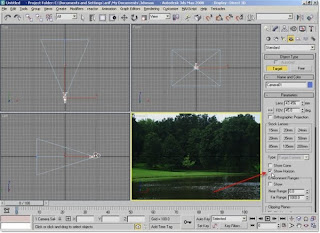
Step 12
Showing horizon will let you see a black horizontal line in the camera viewport which represents eye level. It will facilitate to adjust the camera. You may see another same looking line in the view before showing horizon. But that is grid line, not the horizon line.

Step 13
Create a box in the Top viewport as shown. This box will be our water surface matched to that of the background image.
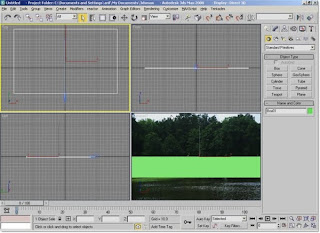
Step 14
Now maximize and adjust the Camera01 viewport (using Truck/Orbit/Dolly tools located at the lower-right navigation area) so that the water surface box is set with the background images’ water portion.
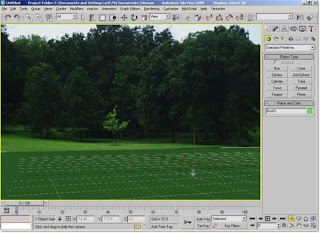
Step 15
Name the box as “water surface”. Then press ‘M’ in the keyboard to open the Material Editor
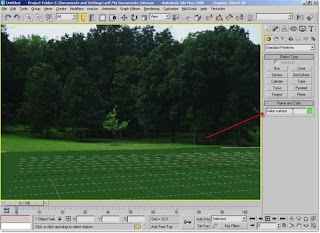
Step 16
The first empty slot should be selected by default. We will now make a water material with this one. Set Specular Level = 102 (approx.) and Glossiness = 49 (approx.).
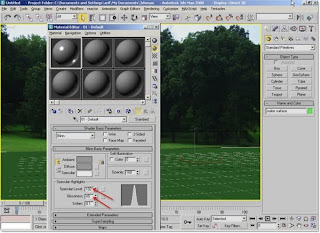
Step 17
Go down and expand the Maps roll-out. Then click the None button in the Bump slot. In the Material/Map browser window, choose Noise.
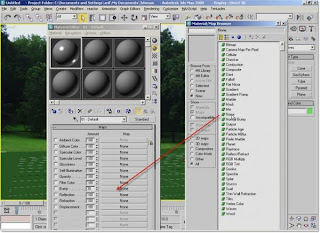
Step 18
In Noise Parameters, set the Size value = 5. It may be adjusted further later on while having a look on the rendered result for the water
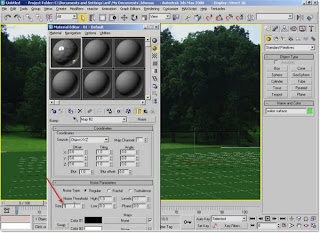
Step 19
Now, assign a Flat Mirror map to the Reflection map (just under the Bump slot). Flat Mirror is good enough as water kind reflection map.
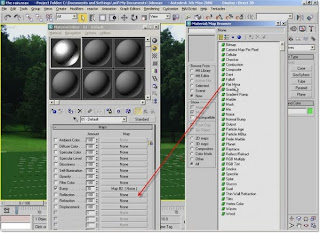
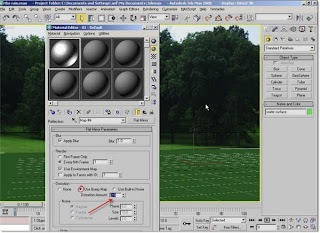
Step 20
Under Distortion group, increase the Distortion Amount value to 2 To get enough noisy reflection. And to match the reflection with the Bump look choose “Use Bump Map” option.
Step 21
Our Water Material is ready. Apply this material to the water surface in the viewport.
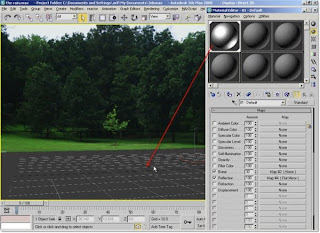
Step 22
Quick Render the Camera viewport to see the resulting water surface.
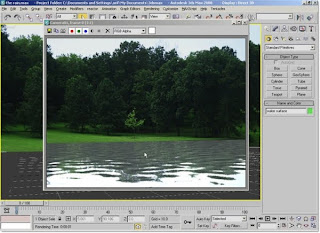
Step 23
If you are not happy with the result, adjust the values in material editor. Also you can adjust the diffuse color. And if you are happy with the rendered image, let’s animate the water now. Turn ON the Auto Key and go to the last frame of the animation. In the Material Editor, set the Phase value = 10. You will not be able to see the resulted animated water until you render out the whole animation which you do later on.
Step 24
Now, for the Rain, create a Spray particle system in the top viewport covering at least the water surface as shown below.
Step 25
Using the Front viewport, position the Spray enough above the water surface. Also, rotate the Spray to simulate the natural rain-fall direction.
Step 26
If you play the animation you will perhaps understand that some adjustments are needed to achieve the rain-look in the Parameters area of the Spray
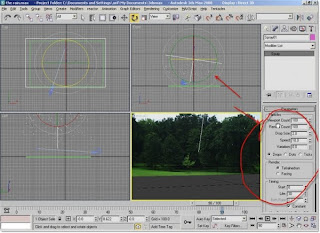
Step 27
Go to the modifier panel and set the parameters of the Spray as Viewport Count = 500, Render Count = 6000, Speed = 22, Timing Start = -100, Timing Life = 100.
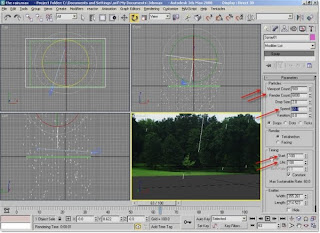
Step 28
Quick Render the camera view again. You will see a raw particle looking which obviously you did not expect for the rain-fall.
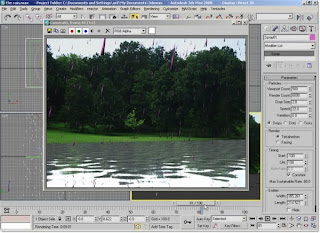
Step 29
We must apply a matching material to the spray which is representing the rain-drops. Open the Material Editor again and select the second empty material slot.
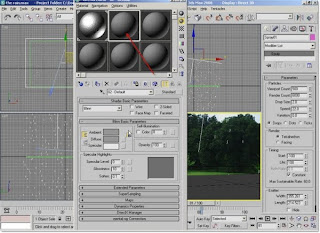
Step 30
Apply a pure White color (255, 255, 255) to the Diffuse color (since Ambient color is locked with the diffuse it should also be white as well). Set the Self-Illumination value to 100.
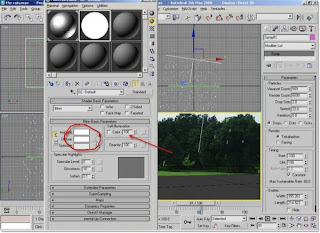
Step 31
Apply the material to the Spray and have a Quick Render. Still it is not a rain-like thing. We still need some adjustments for the object properties of spray itself.

Step 32
Select (if it is not already selected) and right-click on Spray01 and choose “Object Properties” (it may be “Properties” in the earlier versions of max).
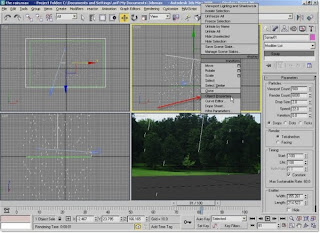
Step 33
In the Object Properties window > Motion Blur group, choose the “Image” option and set the Multiplier value = 3.0 (a value of 2.0 may work fine). Click OK to exit the window.
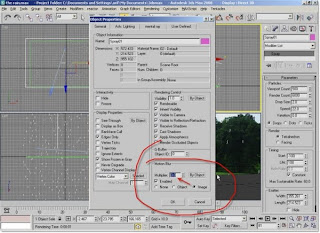
Step 34
Quick Render again. The appearance of the rain has been improved a lot. But we can do further adjustments in the parameters of Spray.
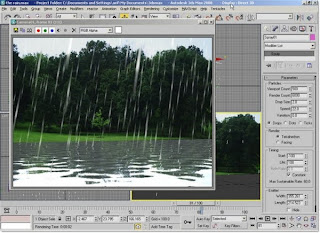
Step 35
While the Spray01 is still selected, go to modify panel again and set the Render Count = 8000 and Drop Size = 1.5. These values and other values may be played with later on when you practice
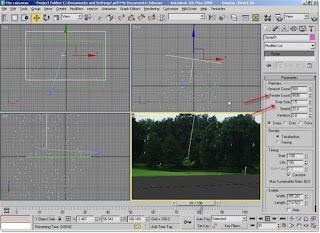
Step 36
Quick Render. You will see more improved result
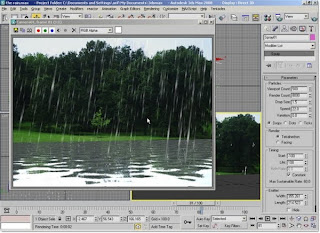
Step 37
But one important thing – if you notice the animation in the Left or Front viewport you will see that the rain is penetrating and thus passing through the water surface. We should not let it happen, rather we should make the raindrops be stopped by the surface and do a little bounce on the water surface.
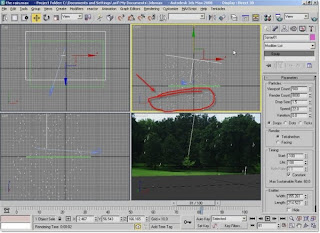
Step 38
To do it, make a Deflector (Create > Space Warps > Deflectors > Deflector) aligned and matched to the water surface.
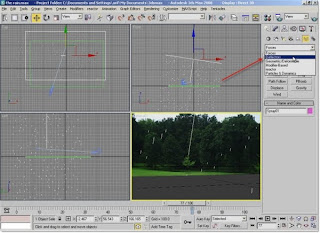
Step 39
Select the Spray01. Then enable the Bind to Space Warp button in the main toolbar and drag to the Deflector01 to bind the spray to the deflector.
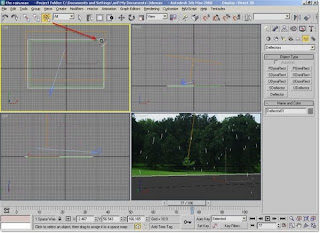
Step 40
Play the animation in the Front or Left viewport. You will see that now rain is not passing through the surface. But the bounce is too high. We should lower it. We should also have some variations.
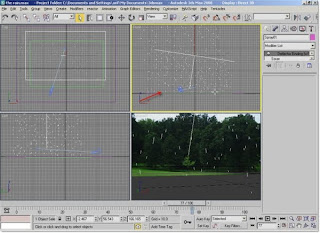
Step 41
Select the Deflector01 and go to its parameters in the modifier panel. Set the Bounce = 0.02, Variation = 23, Chaos = 4.
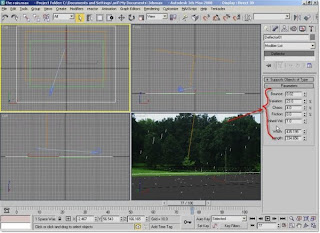
Step 42
Quick Render to see the result. If you are happy you may like to render out the animation. Before, that you should save the file. Because, at the time of rendering the whole animation, if your computer becomes unstable for other reasons (windows problem etc.) or electricity goes OFF (which is a common problem in the non-developed country), you may get the file corrupted after re-opening it. So, this is a good and safe idea to save frequently the max file while working on.
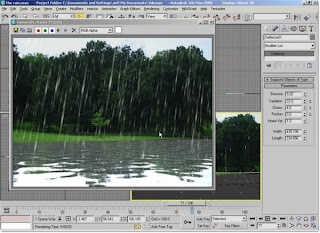
Step 43
To render the animation, press ‘F10’ to open the Render Scene dialogue box.
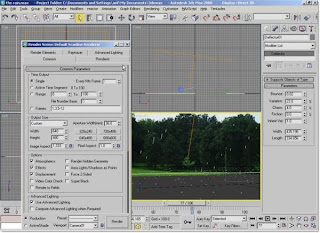
Step 44
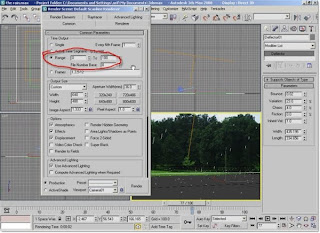
Either choose “Active Time Segment: 0 to 100” option or Range option with a specified range. Then go down and choose Save option with an .avi file for the output. Hit “Render” button and see the result after rendering of the whole sequence is finished.
No comments:
Post a Comment